I made my first dress!
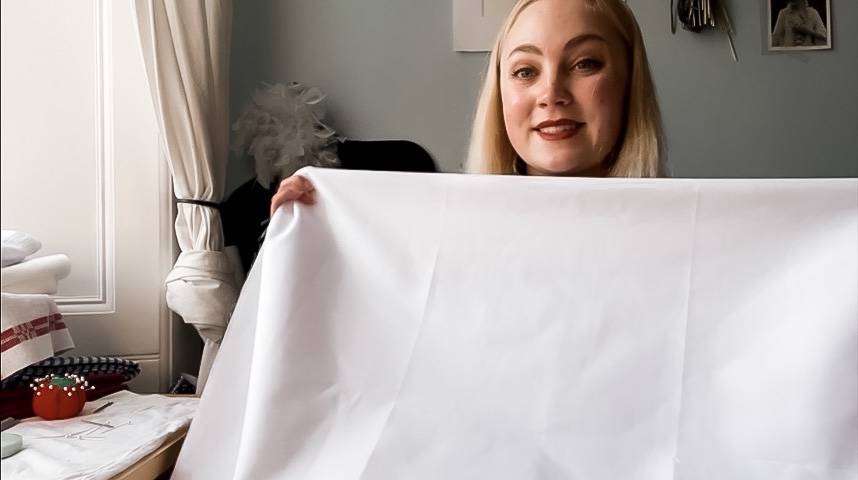
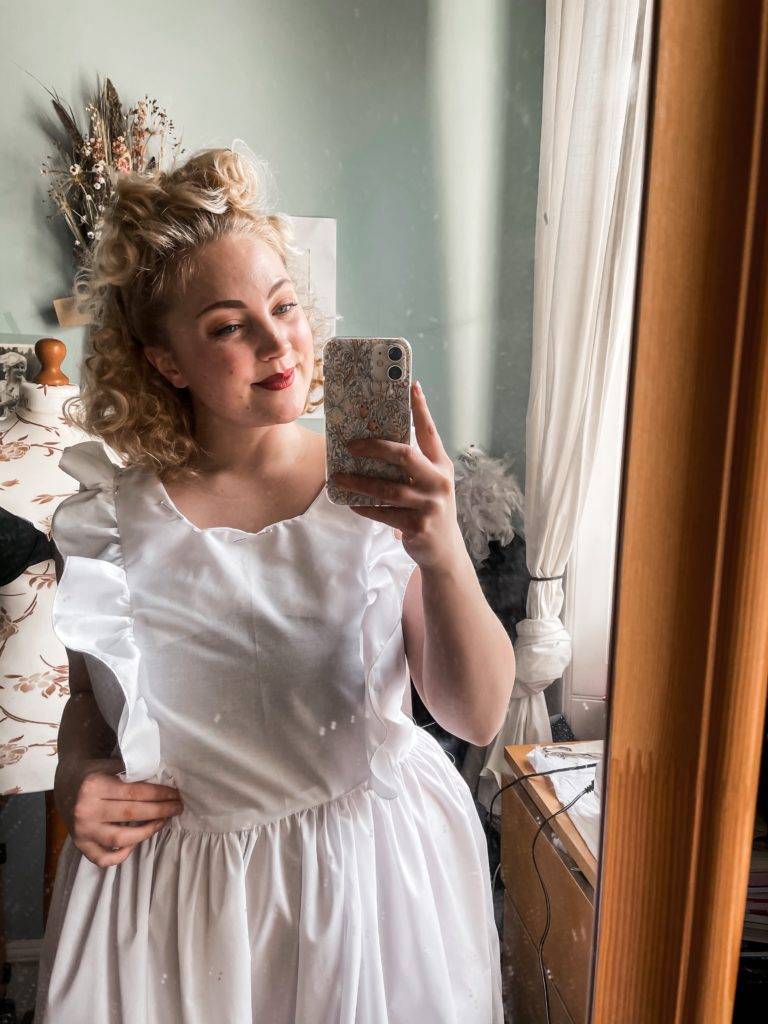
I’ve recently found inspiration in creating clothes myself through knitting and recently also sewing. After getting some money for Christmas I decided to buy a sewing machine and try to dust off the sewing skills that I learned in school about 10 years ago. I always tend to find that the best way to learn something new is to find something, for example a project that inspired you and then just try and dissect the different parts of it. I wanted to recreate an apron dress, the ‘Lorraine’ from Hearts & Found so I traced approximate patterns on tracing paper and put it all together.
The Process
Sewn on: Singer Sewing Machine Starlet 6660
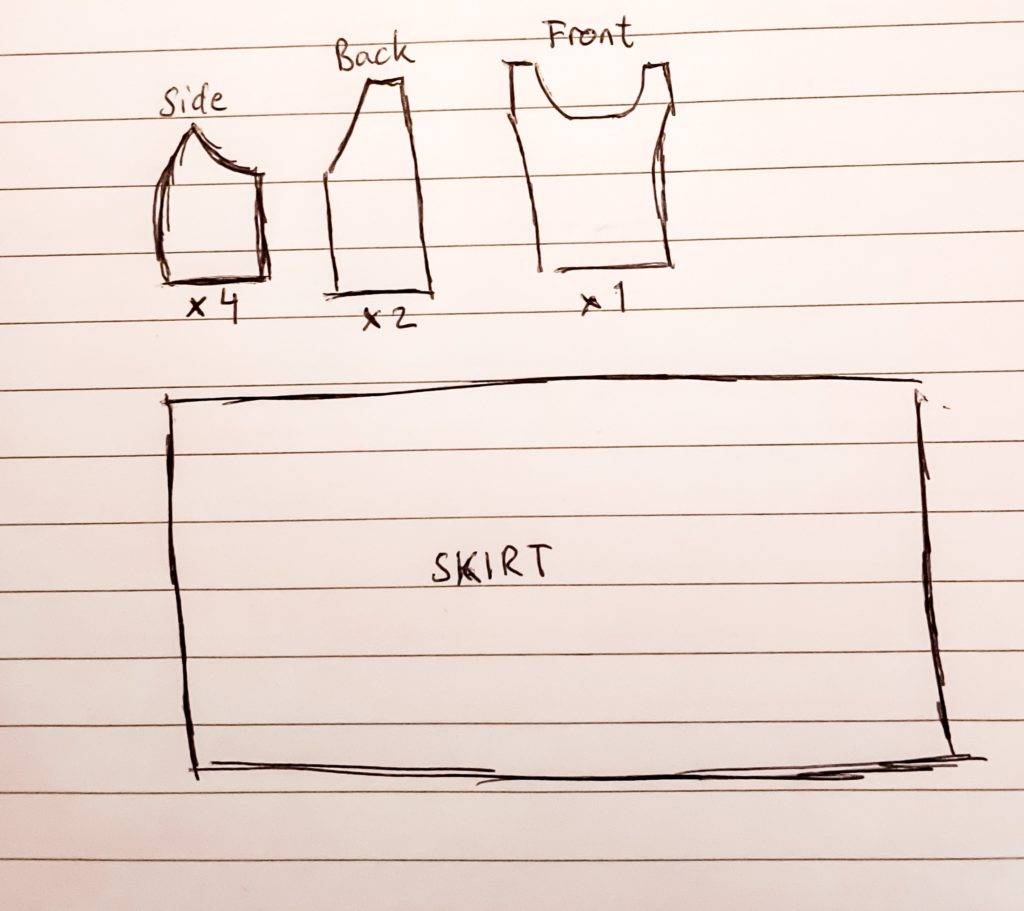
- The first thing to do was trace the patterns on tracing paper. I’ve drawn the shapes of the pieces that you need in my notebook if you are curious to make a dress like this yourself! Apologies about my drawing skills – they have never been my forte.

- I also chose to zigzag the edges of all the pieces that I cut out in the fabric. I don’t necessarily think this was the best way of doing it. I think I could’ve sewn the pieces together and then zigzag the seams where needed. I probably should’ve also folded in the edges for smooth finishes, but I ended up doing that as the last thing which worked fine.
- I started with the skirt as it seemed easiest. The skirt is basically just a long rectangle. Mine was about 150cm in width and I wanted the skirt to be about 70cm long. Then I just adjusted the length of the stitches on my sewing machine to 4.5 and sewed this straight stitches across the top of the skirt so I could gather the fabric. You basically do this and then pull at the bottom (I think) thread to move the fabric together on the string.
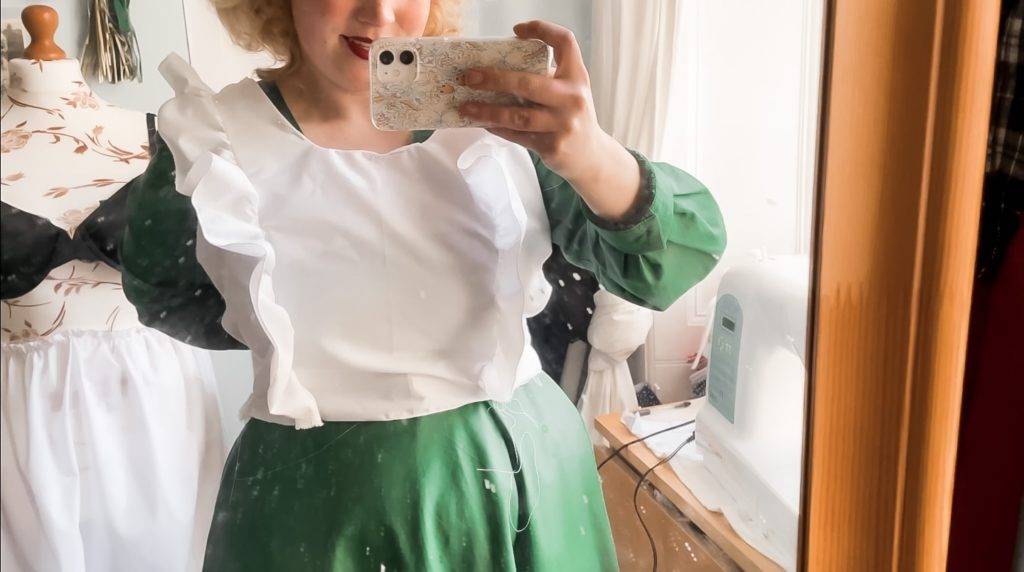
- Next it was the bodice. And it’s basically just to pin all the pieces together – making sure they’re all wrong sides together (I made a mistake and had to redo one of the sides…) and sewing them together. I also added a double layer to the fronts that I could sew it together and fold over to create a smooth neckline (not sure if this makes sense but I talk about it in the YouTube video which I think makes this clearer). The frilly bits are long strips where you gather the fabric in the same way as with the skirt.
- When you have your bodice and skirt ready all you need is to sew them together. I also made an opening in the back of the skirt to be able to fit the zip. When I sewed the pieces together – again wrong sides to be able to fold it over for a nice seam – I only sewed up to the zip and did that section last. Here I ended up with the right side of the bodice facing out, but the wrong side of the skirt so I folded it over again (like a French seam) to avoid redoing it all as I needed to take in the sides anyways.
- Then it was time for the zip. Pinned it down and sewed along the edges.
- I finished up with making sure the fit was okay. As I mentioned I took in the sides of the bodice at the same time as I fixed the mistake I made with the skirt as it was slightly too big. I also used an embroidery stitch on my sewing machine to decorate/sew down the double layer around the neckline. Another thing I did was to stitch down the frilly bits at the top to make sure they wouldn’t turn inside out. What would probably make the dress even nicer is an inside lining of the entire thing, which would also make it less see through, to hide away the seams – I might try to do that next time I make one because right now I just want this dress in every possible colour as well as a long sleeved version.
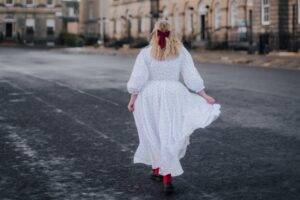
TA-DAA – done!
Cost
Fabric 3m x 45″ width Polycotton: £7.80 + shipping
White thread Coats Moon 1000yds: £1.99
White 40cm Invisible Zipper: £2.20
Total: approximately £12
Now the question is – what to make next?
